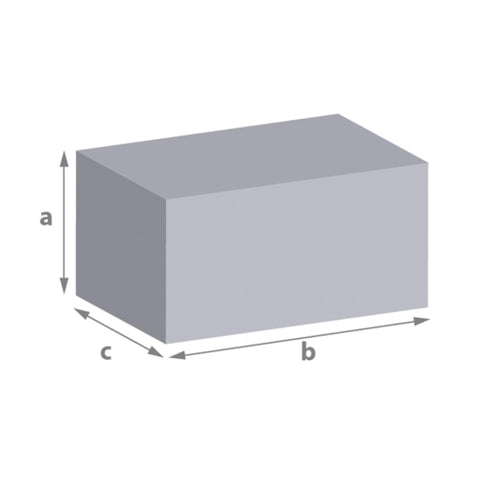
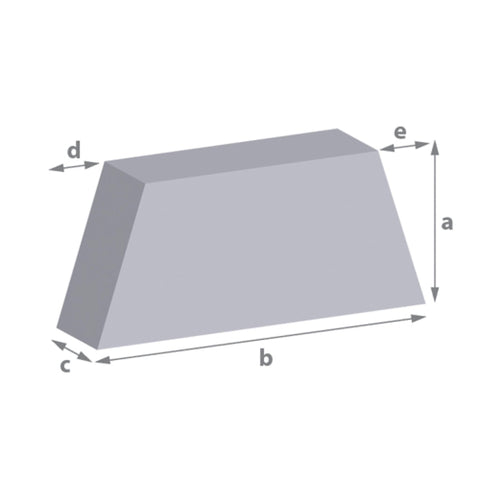
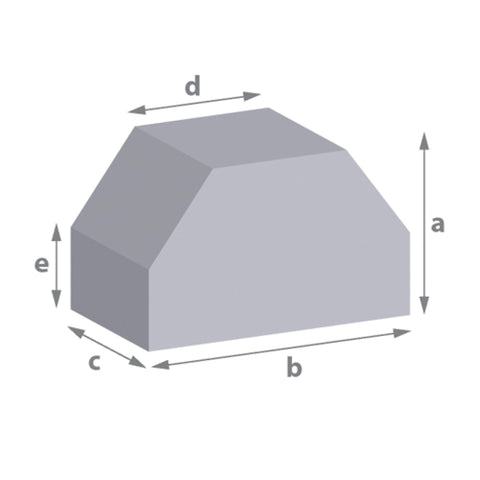
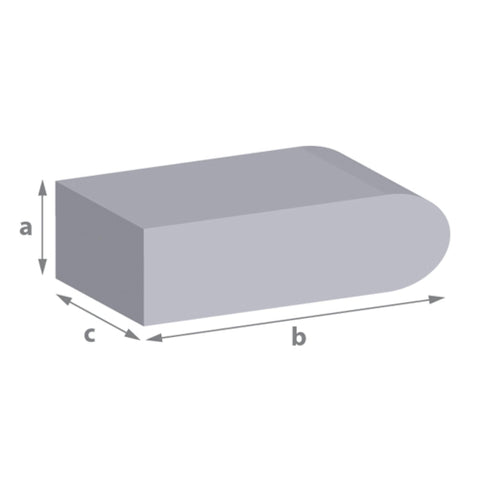
Foam might just be the unsung hero of DIY projects. Whether it’s adding comfort, style, or a splash of fun to your home, foam custom cut to size opens a world of creative possibilities.
Lightweight, versatile, and easy to work with, foam is perfect for a range of projects that suit DIY enthusiasts of all skill levels. Here’s your guide to turning expertly cut foam from We Cut Foam into stunning and practical creations for your space!
Why Custom Cut Foam Is a DIY Superstar
Foam isn’t just for sofa cushions or mattresses; its adaptability makes it a go-to material for projects big and small.
Here are some benefits of working with foam:
- Customisable: Whether you need a quirky shape or a specific size, foam can be tailored to any project.
- Affordable: Foam is cost-effective compared to other materials while still offering excellent functionality.
- Durable and Comfortable: From seating to play mats, foam provides long-lasting use and superior comfort.
- Easy to Use: You don’t need to be a pro to create amazing projects; foam supports even beginner-level DIYers.
Now, let's roll up our sleeves and explore three fantastic foam-based projects that you can start today with a little help from We Cut Foam of course!
Project 1: Chic Custom Headboards
Transform your bedroom with a bespoke foam headboard that matches your personal style.
Materials & Tools Needed:
- A piece of foam cut to your desired headboard size.
- Plywood in matching dimensions.
- Fabric of your choice (velvet, linen, or patterned cotton works well).
- Spray adhesive, fabric staples, and staple gun.
- Scissors and a utility knife with a foam blade.
Step-by-Step Guide:
-
Measure & Plan
Measure the width of your bed and decide on the ideal headboard height. Match these dimensions when ordering your foam. -
Attach the Foam to the Plywood
Lay the foam over the plywood and use spray adhesive to secure it. Trim any excess foam with the utility knife. -
Add the Fabric
Place your fabric on a flat surface, with the design side facing down. Centre the foam and plywood on top. Fold the fabric edges over the foam, pull tightly, and staple in place. -
Mount It
Install the headboard directly onto your wall or secure it to your bed frame, depending on your setup.
Design Tip:
Create a tufted look by attaching buttons to the surface using strong thread or upholstery nails for that classic, luxurious touch!
Project 2: Cosy Bench Cushions
Update your dining nook or outdoor furniture with plush, tailor-made bench cushions.
Materials & Tools Needed:
- Foam cut to fit the size of your bench.
- Fabric (water-resistant options for outdoor use).
- Zipper (optional for removable covers).
- Sewing machine, fabric scissors, and measuring tape.
Step-by-Step Guide:
-
Measure the Bench
Take accurate dimensions of the seating area and order foam to those specifications. Choose foam thickness based on the comfort level you prefer. -
Cut & Sew the Cover
Cut fabric panels to size, leaving extra for seams. Sew together three sides, then insert the foam. Use a zipper for the final edge for removable covers. -
Finish & Style
Add decorative piping along the edges of the cushions for a polished finish.
Pro Tip:
Choose high-density foam for durability in high-traffic areas like dining benches or entryway seating.
See also - From Window Seats to Nooks: How Custom Foam Cut To Size Adds Comfort and Style
Project 3: Fun Kids’ Play Mats
Make a safe and vibrant play area for your little ones with custom foam mats.
Materials & Tools Needed:
- Foam sheets cut to your desired size.
- Nontoxic adhesive or cover fabric if laminating a surface.
- Fabric markers, stencils, or craft-safe paint for designs.
Step-by-Step Guide:
-
Pick Your Foam
Opt for soft, low-density foam, ensuring kids can play comfortably and safely. -
Design the Mats
Get creative! Personalise the mats with stencilled alphabets, shapes, or hand-drawn designs. -
Secure the Mats
For tiled play mats, add Velcro strips underneath so the pieces stay in place but are still easy to rearrange.
Time-Saving Tip:
Use pre-printed fabrics as covers for an instant decorative upgrade.
Tips for Success
-
Foam Selection
Match the foam’s density and thickness to the function of your project. Soft foam works best for kids’ play mats, while high-density foam provides long-lasting support for seating. Full foam density details from We Cut Foam. -
Tools of the Trade
A sharp utility knife or electric carving knife will make cutting foam a breeze. -
Personal Touches
Don't be afraid to mix fabrics, add trims, or experiment with colours to make each project uniquely yours. -
Budget-Friendly Options
Shop for foam offcuts or remnants for smaller projects to save on costs without compromising quality.
Overcoming Challenges
-
Challenge: Edges are not cutting cleanly.
Solution: Use a straightedge ruler for guidance and ensure your blade is sharp. -
Challenge: Securing fabric neatly around corners.
Solution: Make small relief cuts in the fabric and fold neatly before stapling. -
Challenge: Knowing what foam type to buy.
Solution: Consult with professional cutters who can guide you based on your project needs.
Encourage Your Creativity
Foam projects blend practicality and creativity, and the results can be truly stunning. Whether you’re adding a touch of luxury to a bedroom, refreshing furniture, or crafting something fun for kids, foam offers endless possibilities for DIY enthusiasts.
What are you waiting for?
Grab some foam, gather your tools, and start creating! Have you tackled any foam-based projects? Share your results or questions in the comments below, we’d love to see what you’ve made and remember we are here to help - get in touch today!
See also - Foam Demystified: Answers to Your Biggest Foam Questions




Comments (0)
There are no comments for this article. Be the first one to leave a message!